-
![Motorsport Safety Experts]()
Motorsport Safety Experts

-
NEW ITEMS


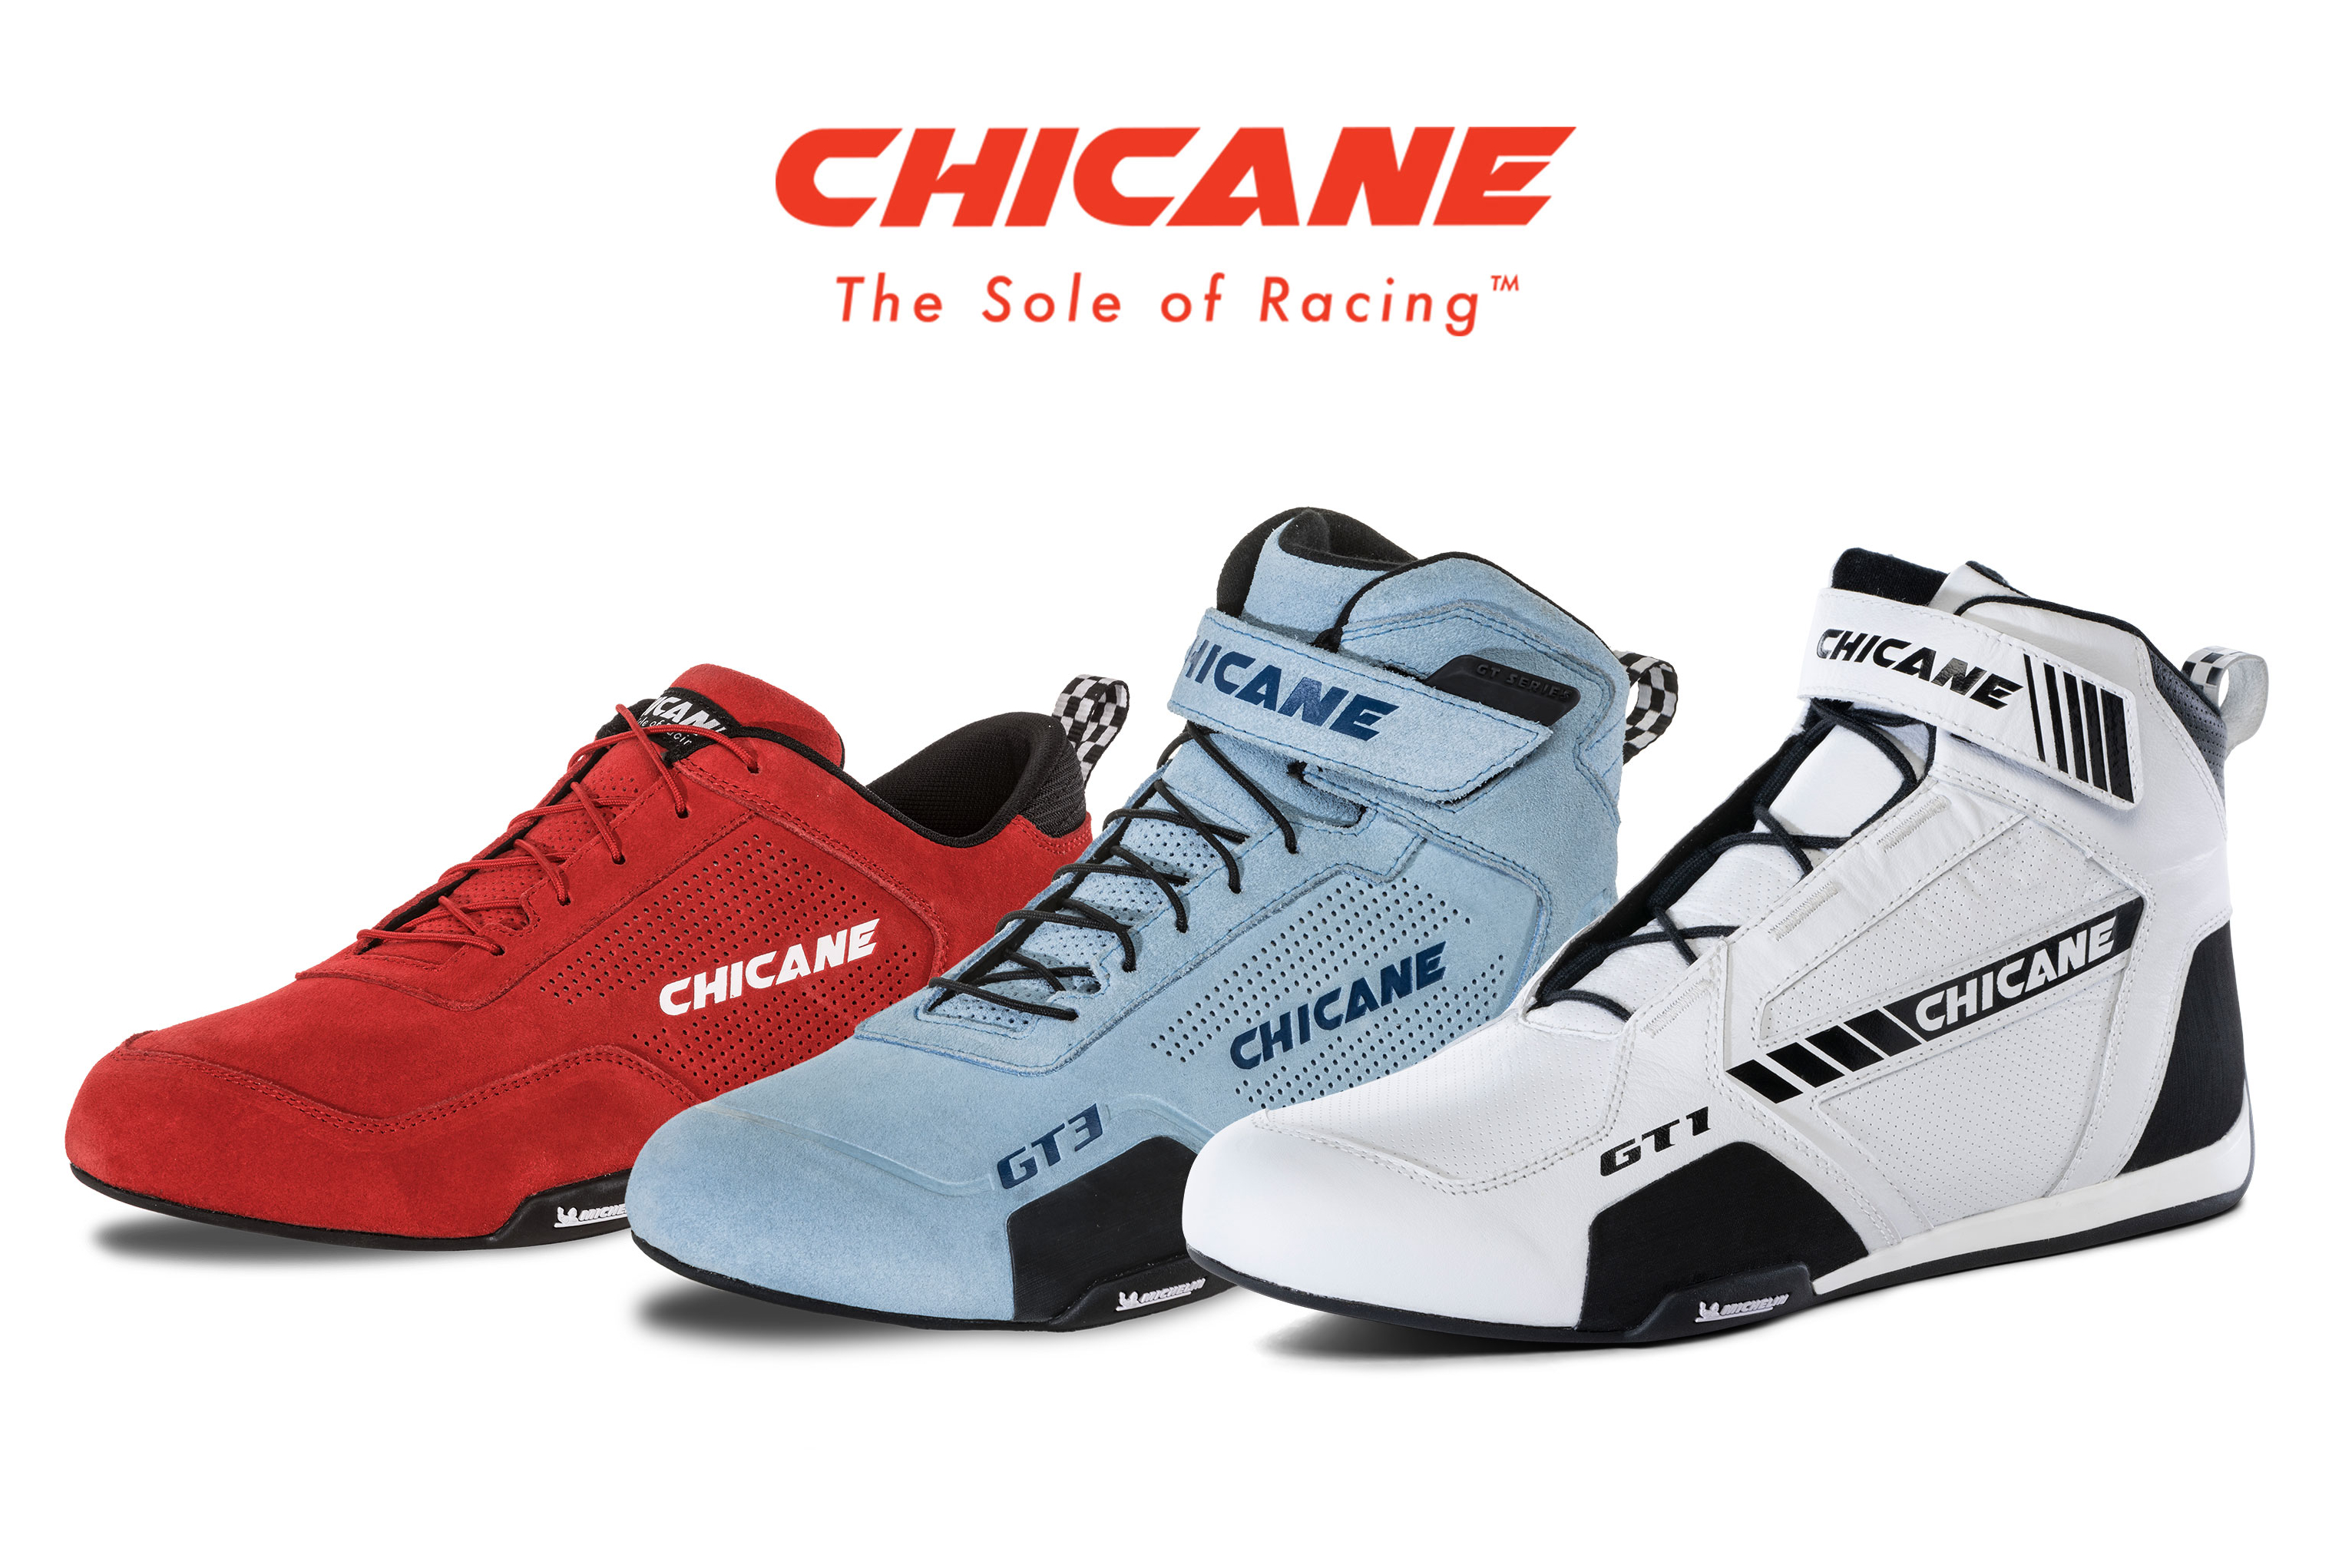
Chicane Driving Shoes
Handmade driving shoes designed to meet the most rigorous demands of track driving. Thanks to a collaboration with Michelin, Chicane shoes feature the best sole designs and compounds.

HMS GIFT CARD
Let the driving enthusiast in your life choose what gear fits their needs without worrying that you got the wrong thing!
Starting at - $50.00
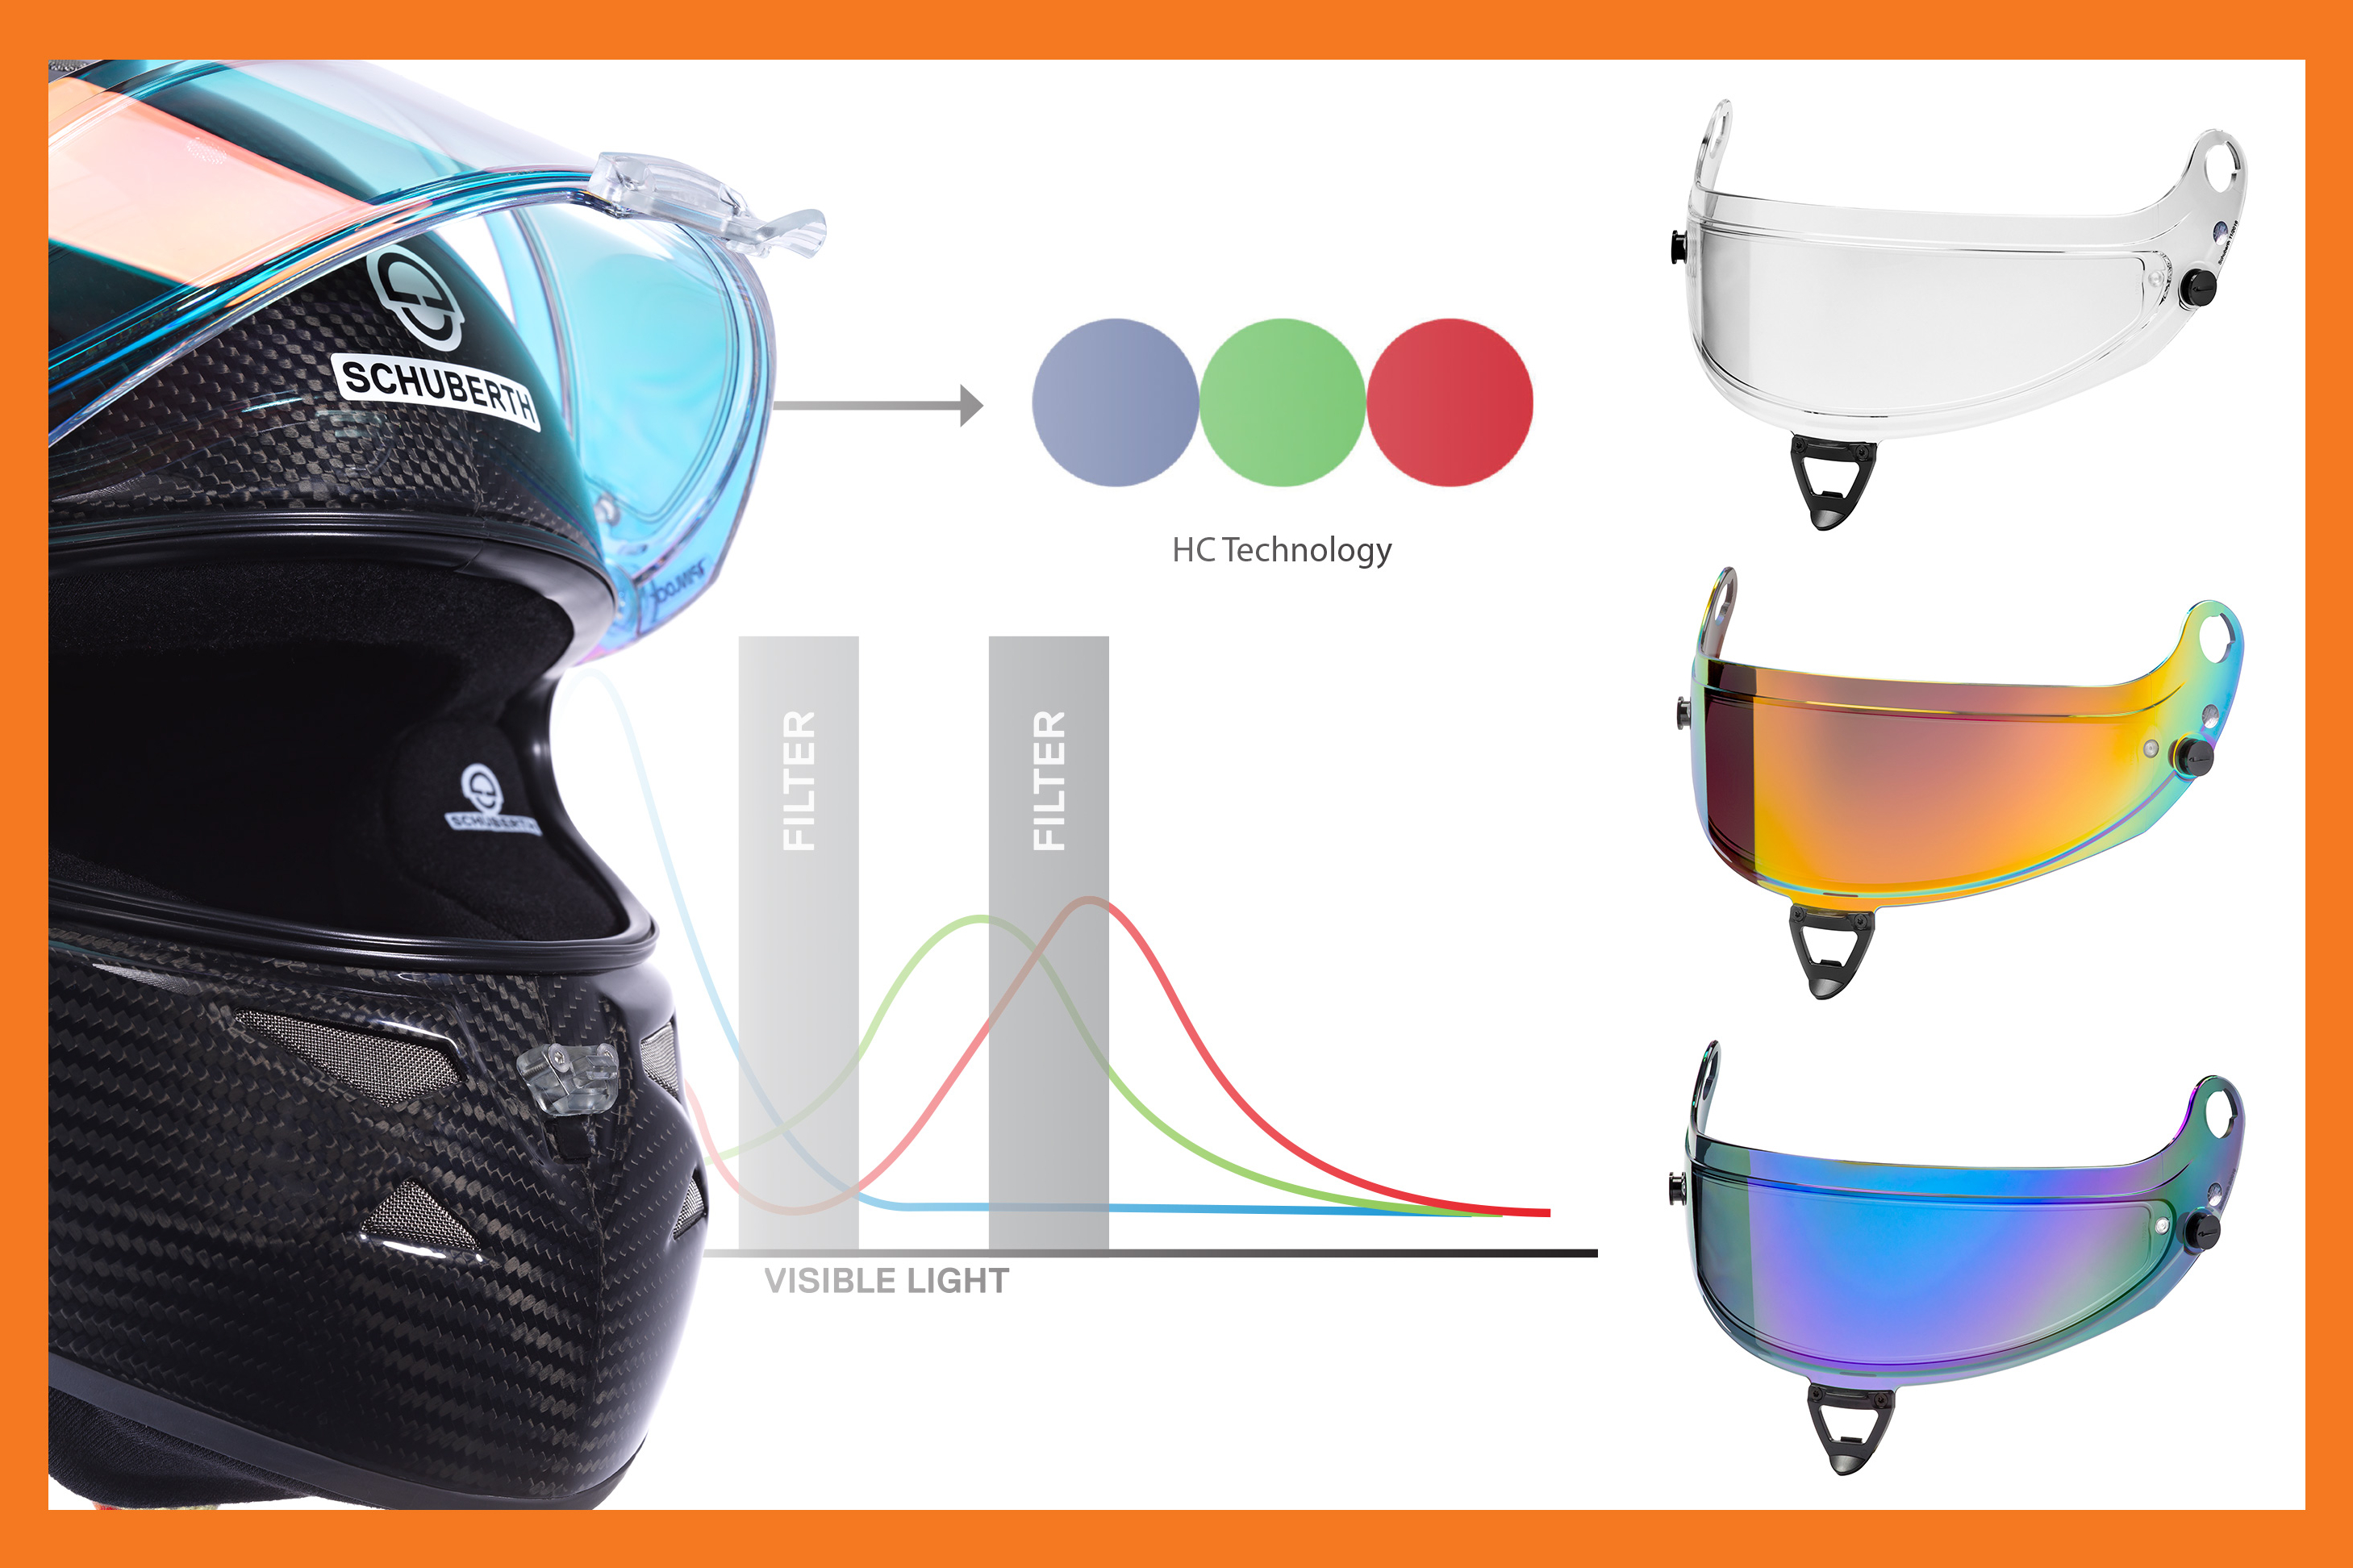
SCHUBERTH HIGH VIS VISORS
Increase the performance of your visors with this new technology!
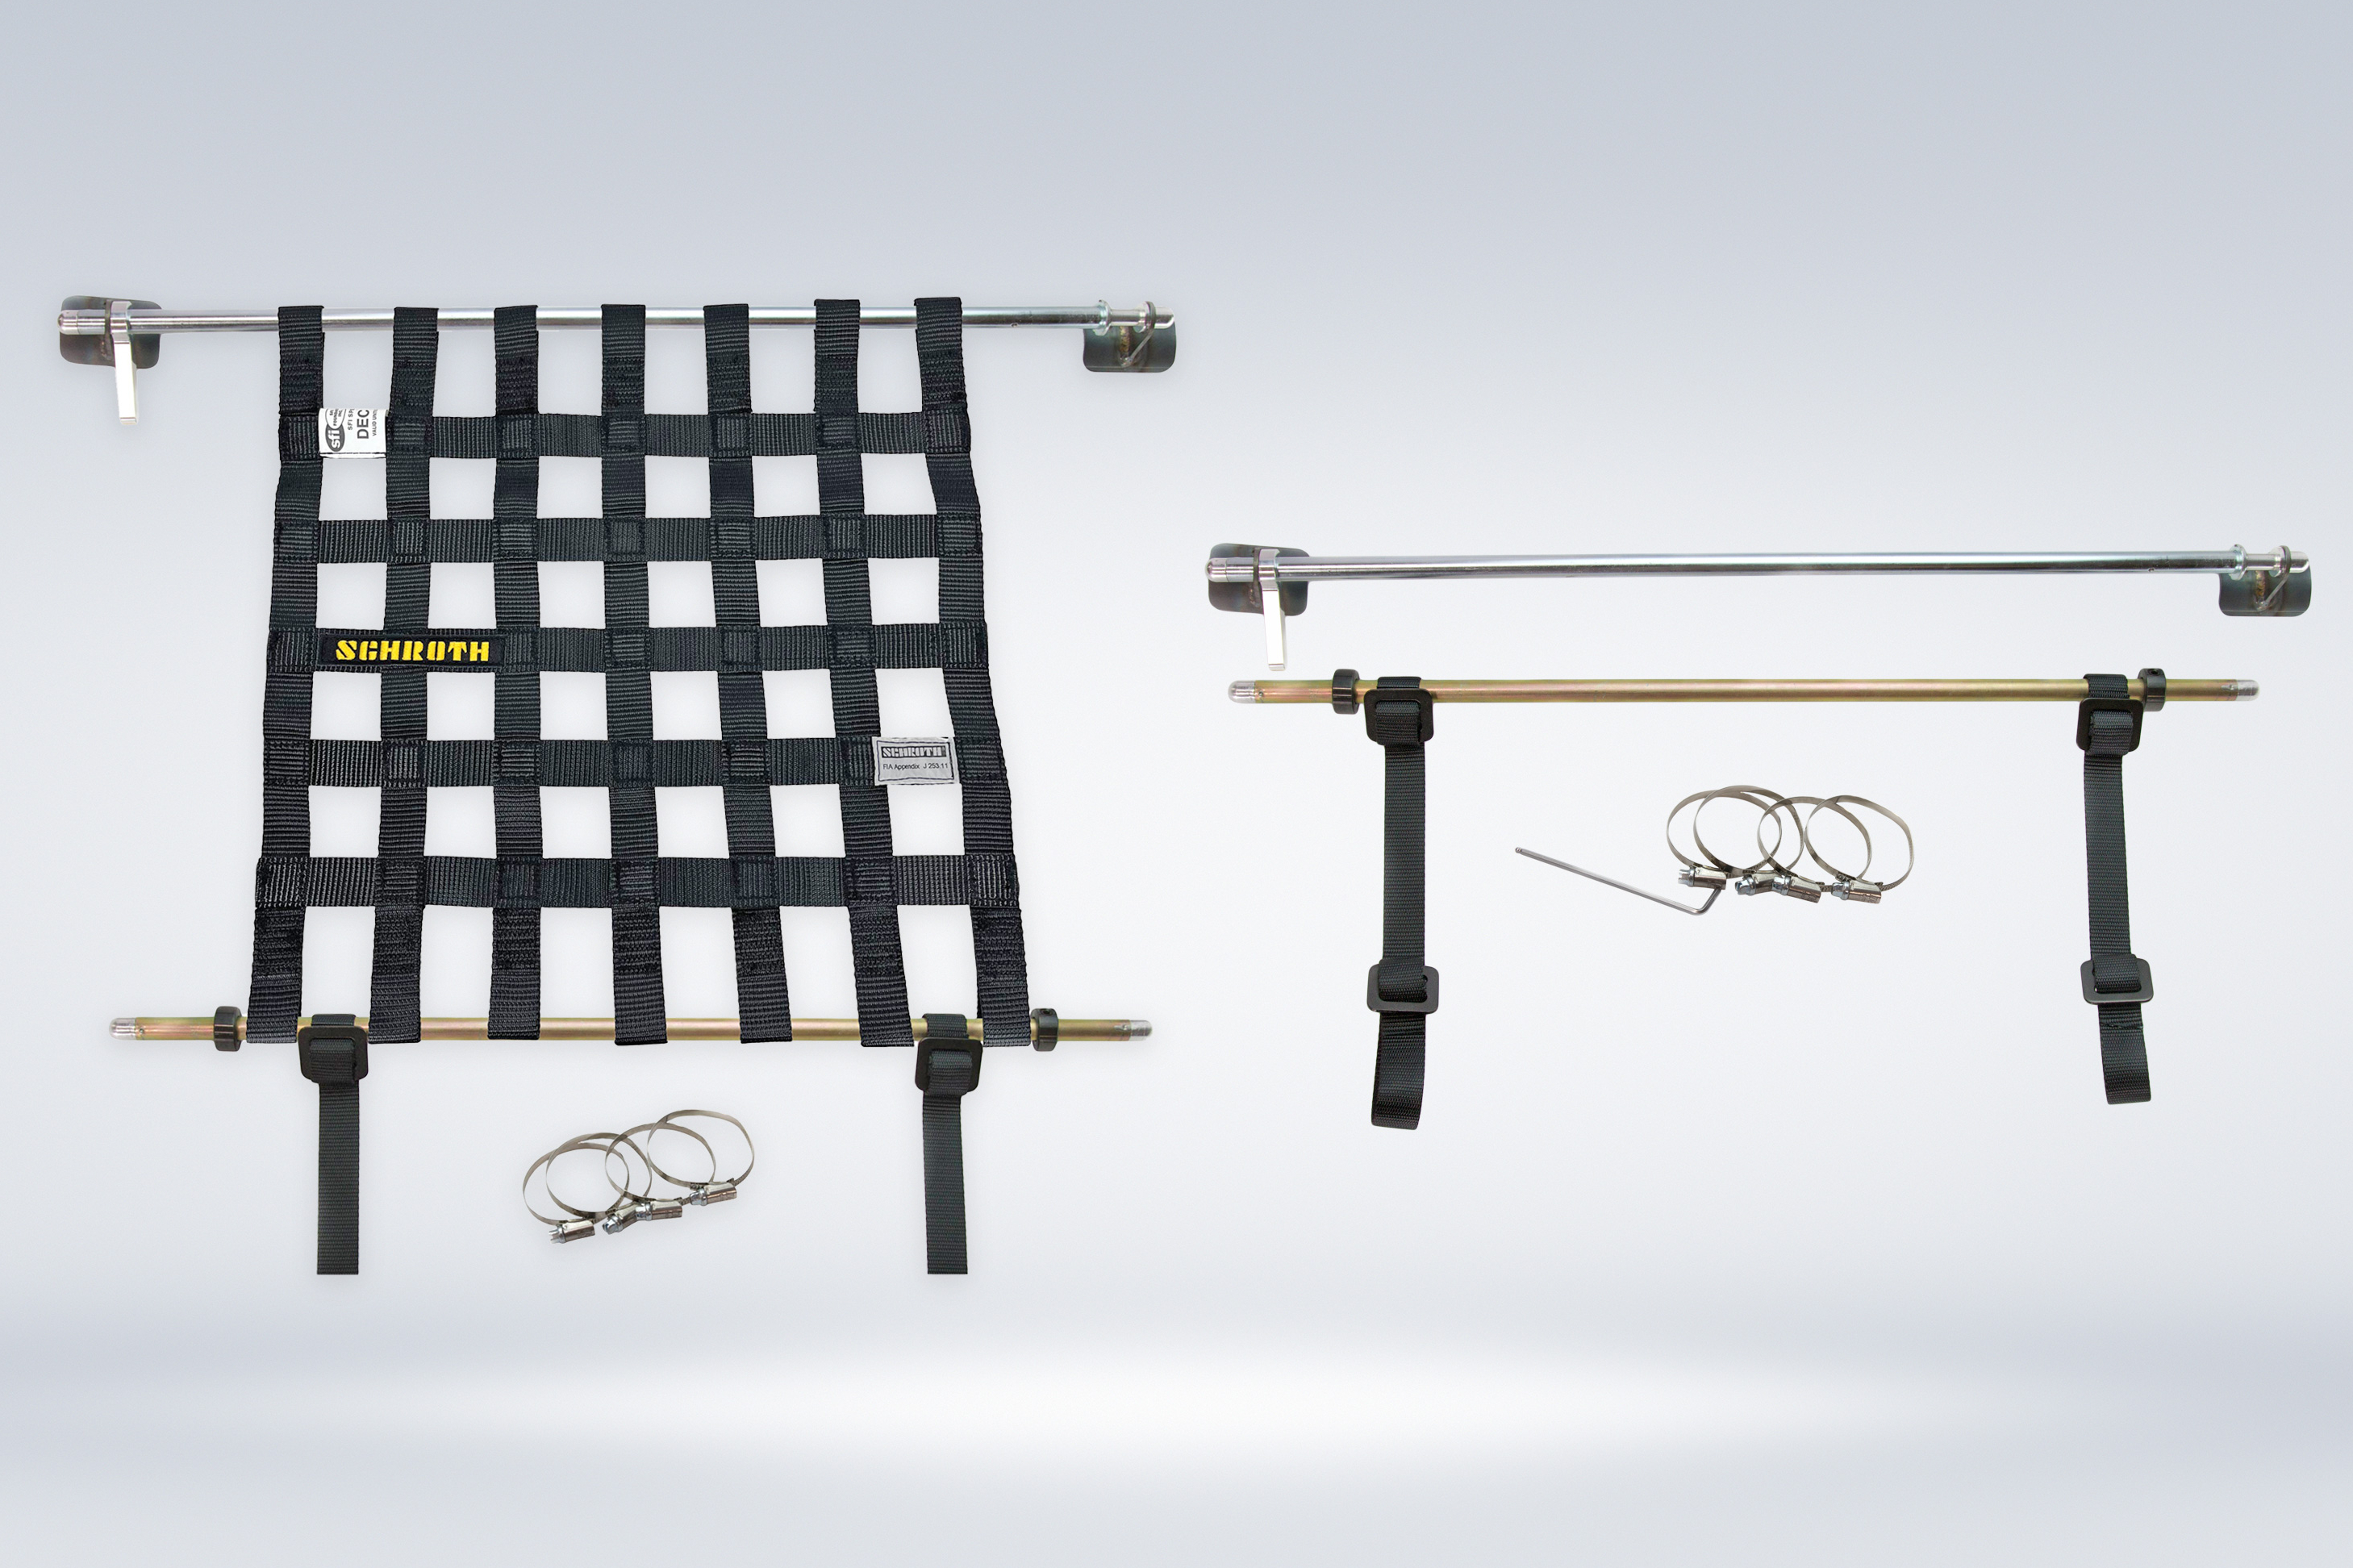
HMS Window Net Hardware
Designed in house by HMS, this Hardware Kit can be purchased as a stand-alone item, or a complete kit with Schroth Racing Window Net.

ST5K CHASER WIRELESS KIT!
Talk with your friends while driving on track together!
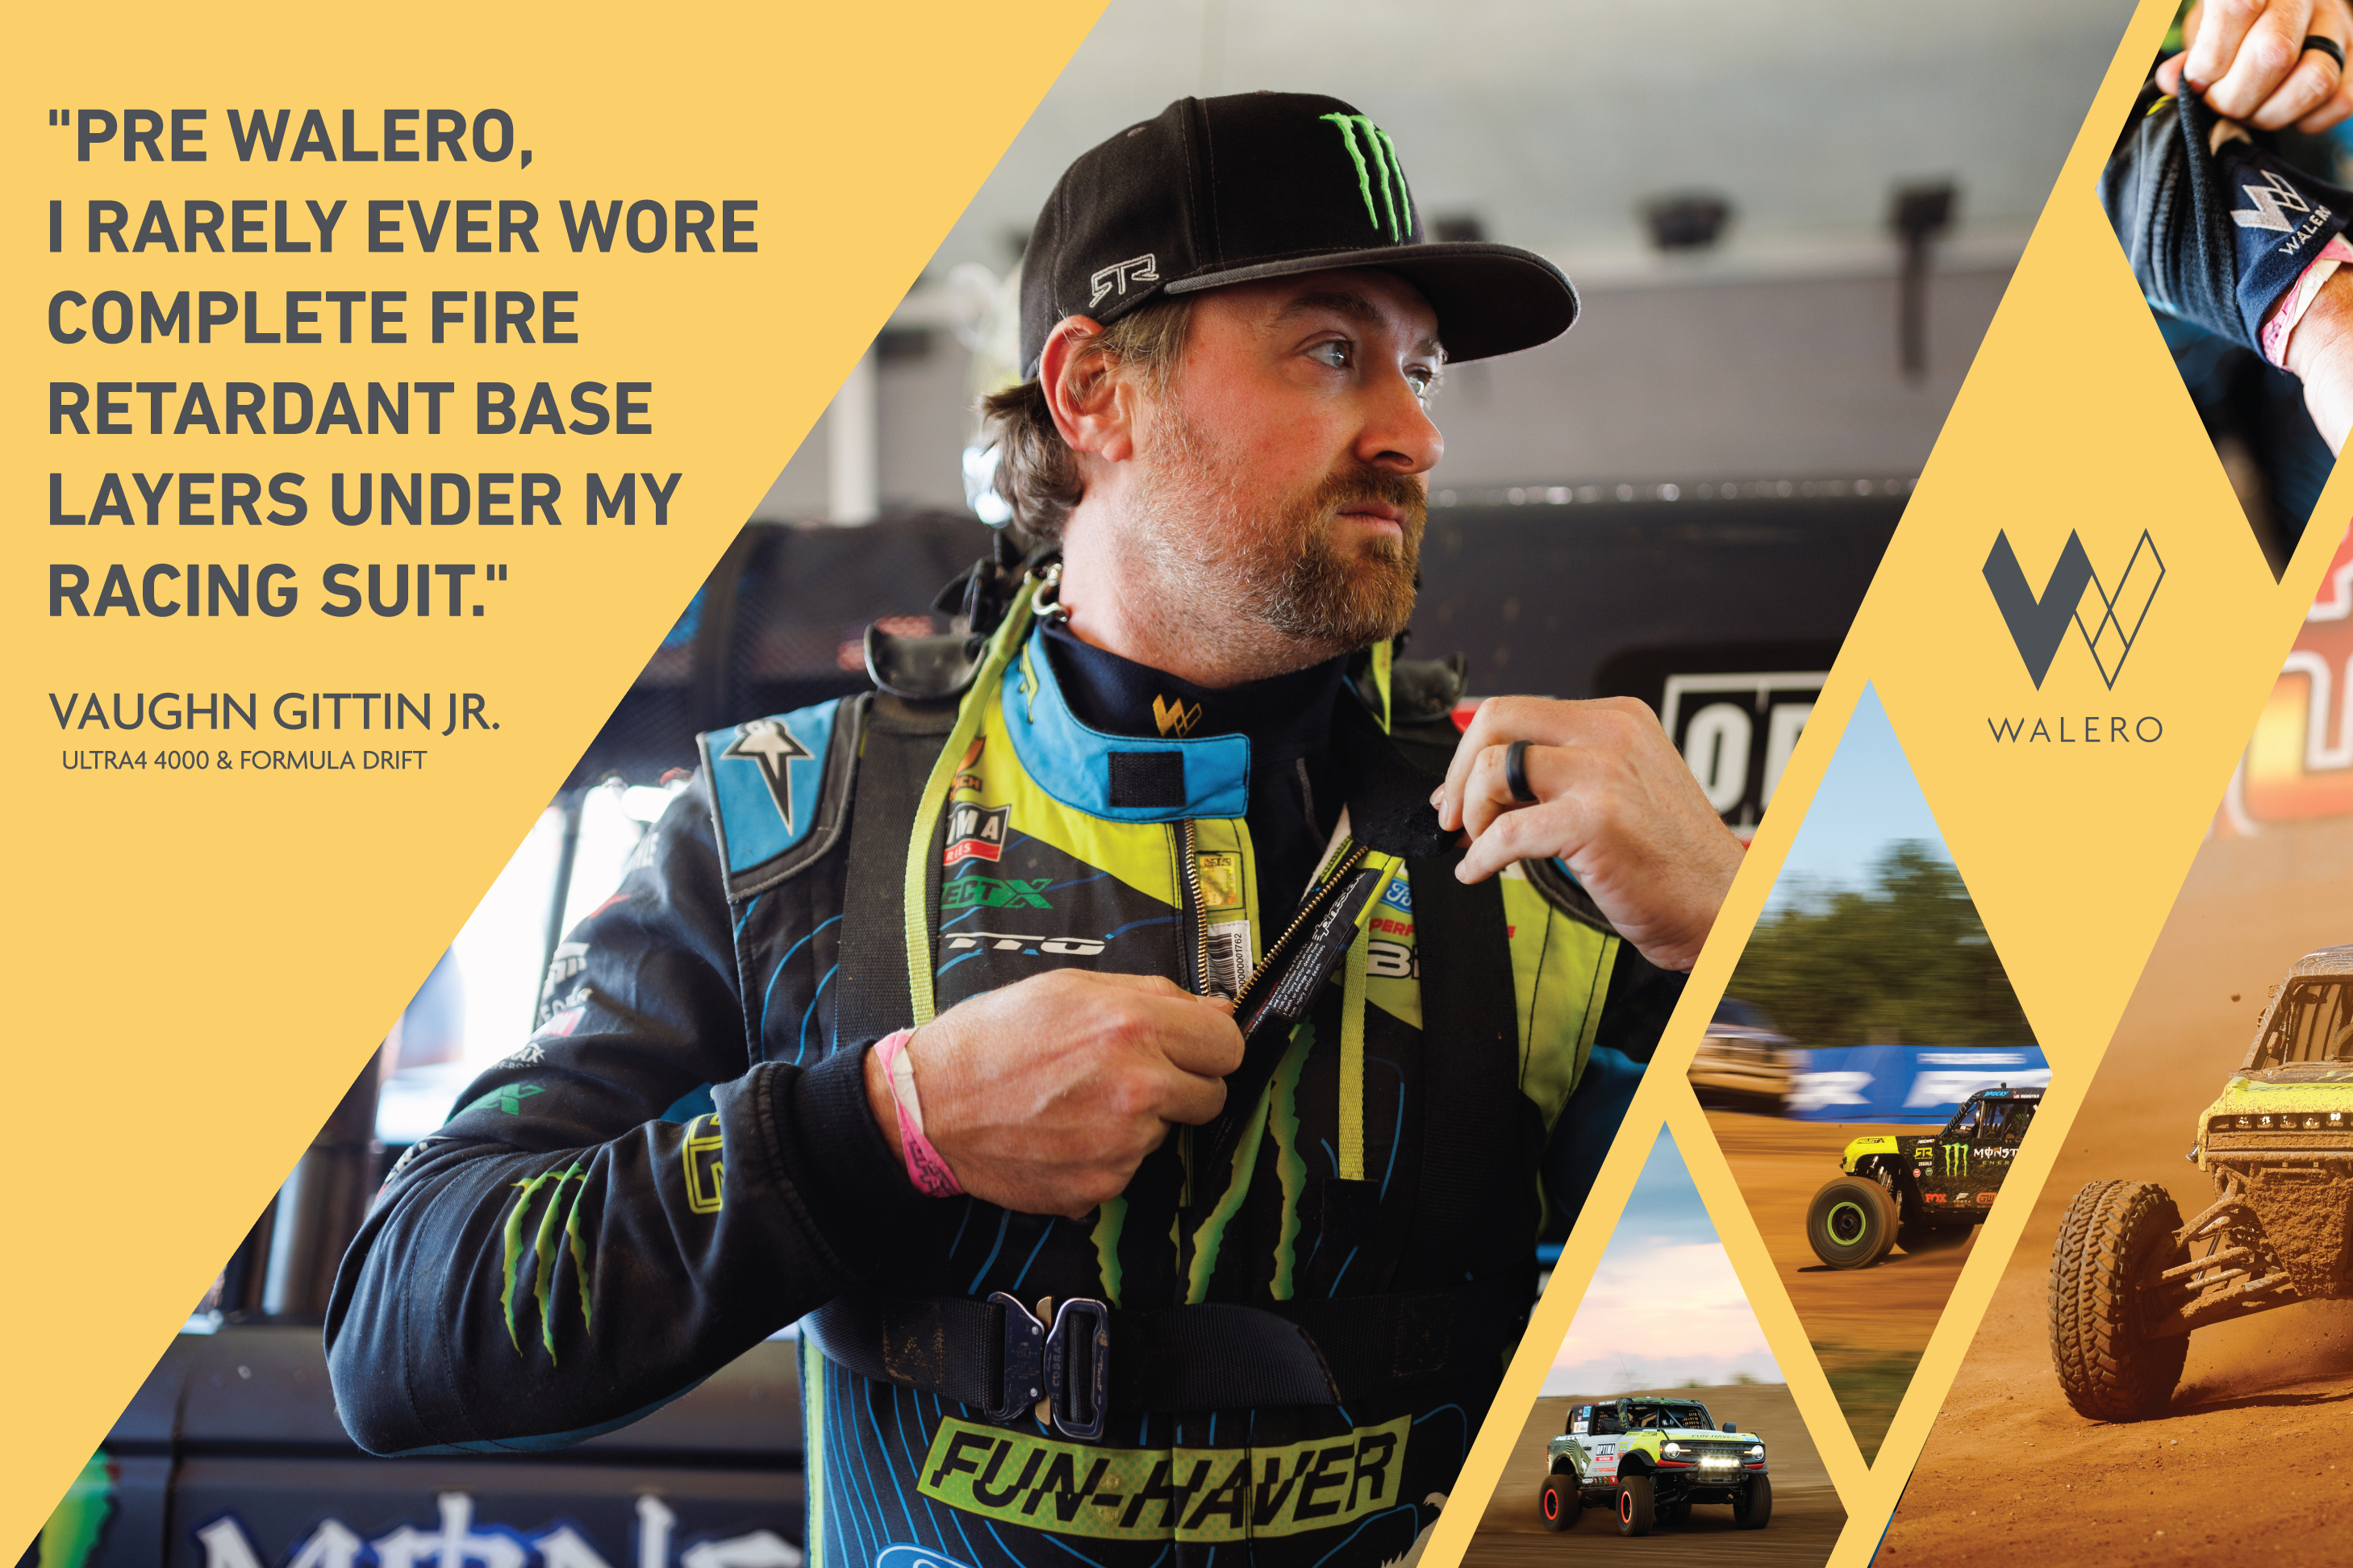
Walero Racewear
Formula Drift and Ultra4 Champion VGJ has been trusting Walero for the 2022 season.
Click above to see his testimonial!
